Introduction
Annotations are a powerful concept in the Motto platform. In fact, we believe it is this concept that makes Motto shine when it comes to live sports OTT platforms. Annotations are representations of points in time in a video, and can be used to mark key moments in a match, like goals, fouls, or substitutions. These moments can be tagged through our visual Studio interface without any technical knowledge.
Get Started
Before you can get started with creating annotations, you must first create a few supporting objects. These are described below.Annotation sets
An annotation set is a collection of the kinds of annotation types that you would like to create. Typically, you would create an annotation set for each sport that you are covering. For example, you might have an annotation set for football, and another for basketball. To create your annotation set, follow these steps:Via the API
Via the API
Call the Create Annotation Set endpoint. In it’s simplest form, this call could look like:Once this set is created, please make sure to associate it with your event type by calling the Attach Content Type endpoint.
This will ensure that your annotation set shows up for the correct events in the Studio interface (you would not want to accidentally tag basketball annotations on a football event!)If you are not using a specialized event type, you should use
default in place of the event type.Annotation types
Once you have created an annotation set, you must create some annotation types within that set. Annotation types are the different kinds of annotations that you can create. For example, you might have an annotation type for goals, chances, corner kicks, red cards, kickoff, full-time, etc. To create your annotation types, follow these steps:Via the API
Via the API
Call the Create Annotation Type endpoint. In it’s simplest form, this call could look like:This call will create an annotation type called “Goal” in the Football annotation set you just created. The
priority field is used to order the annotation types in the Studio interface, and the group_name field is used to group the annotation types together.Annotations
Now that you have created your annotation set and annotation types, you can start creating annotations for your video content! To create an annotation, follow these steps:Via the Studio
Via the Studio
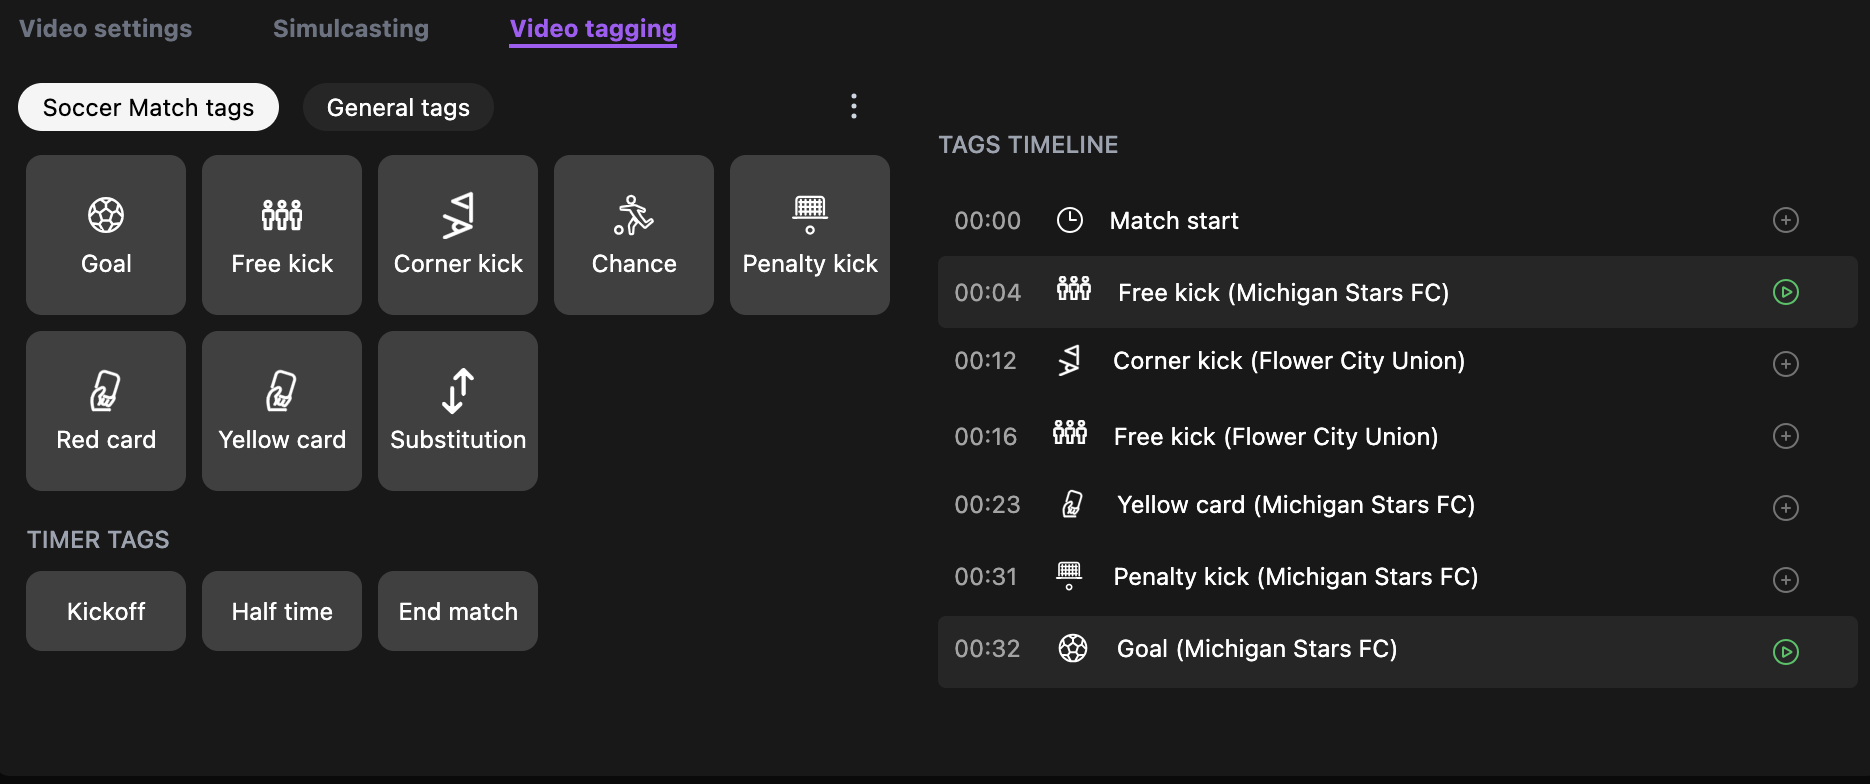
Navigate to the Video Manager in the Studio, and select the event and video you would like to annotate. Click on the “Video tagging” tab. If you have created an annotation set and associated annotation types, you should see something similar to this:

If you do not see the “Video tagging” tab in the Studio interface, this may mean that you have not attached your annotation set to your event type yet. Please refer to the annotation set section above.
Via the API
Via the API
Call the Create Annotation endpoint. In it’s simplest form, this call could look like:This call will create an annotation of type “Goal” that you just created, in the video of your choice. The
offset field is the time in milliseconds where the annotation should be placed. In the example above, this would be at 60 seconds into the video.
