Introduction
Motto offers an integration with Stripe, which makes it easy to monetize your content through subscriptions or one-time purchases. To enable this integration, you need to create and configure Stripe API keys in your Motto project.Where to find your Stripe API keys
Motto needs two types of keys for a successful integration with Stripe:- Publishable key: Used for client-side operations, such as tokenizing payment information
- Secret key (or restricted key): Used for server-side operations, such as creating charges and managing subscriptions
Finding your API keys
- Log in to your Stripe Dashboard
- Navigate to the “Developers” section in the left-hand menu (near the bottom)
- Click on “API keys”
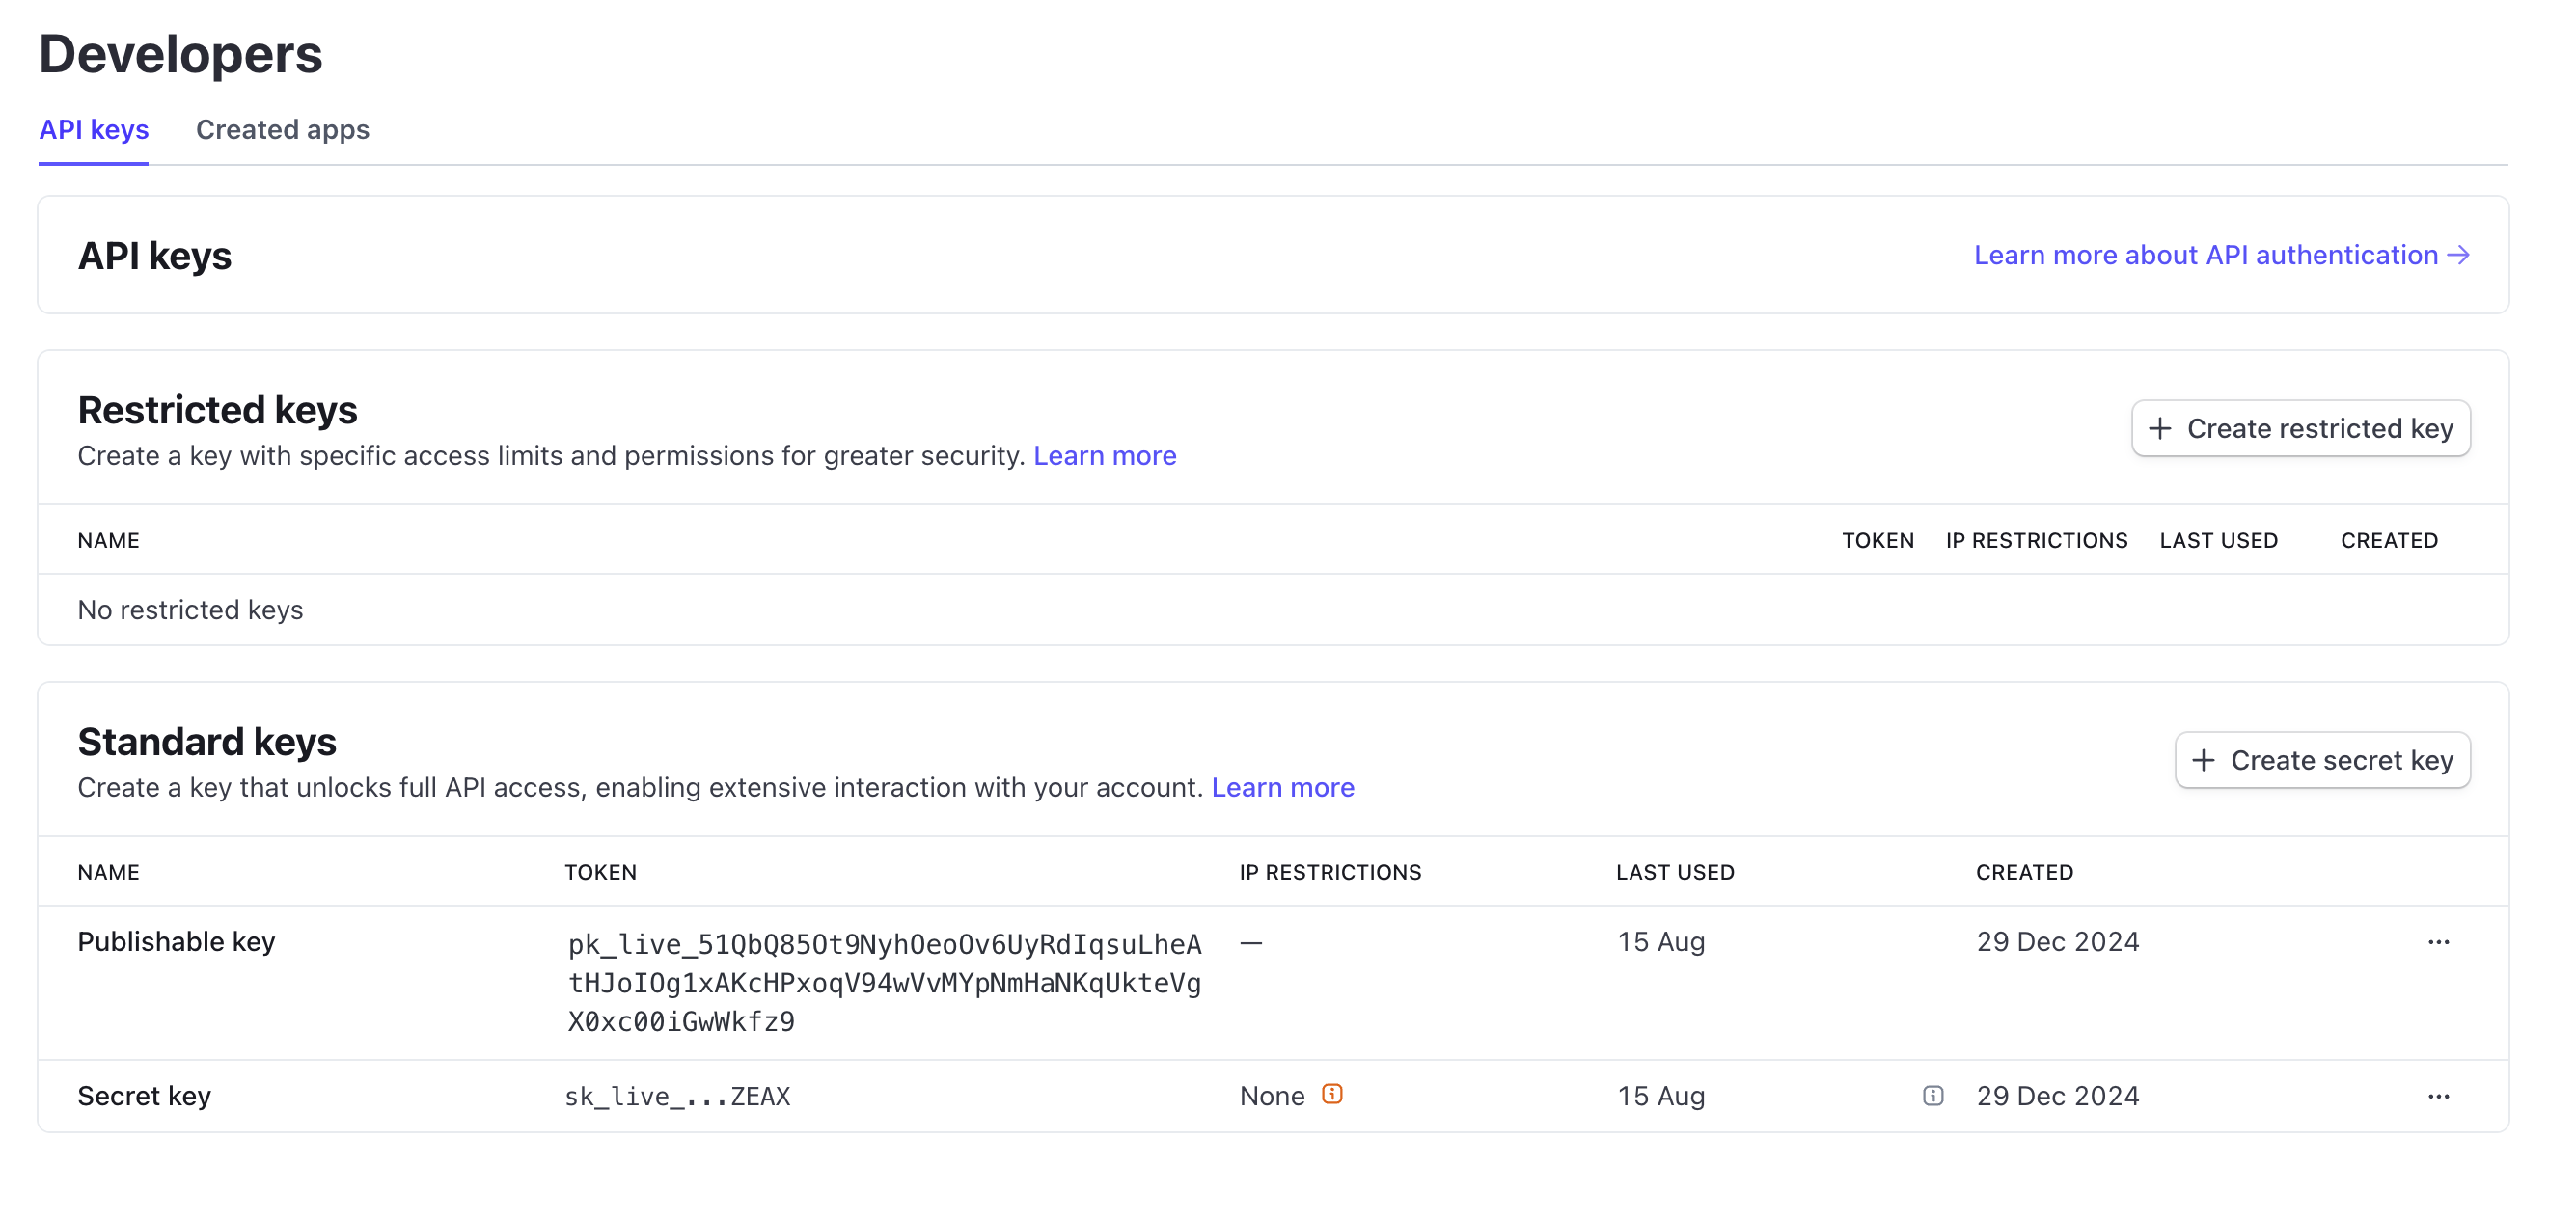
- Copy your “Publishable key”. It should start with
pk_live_for live mode orpk_test_for test mode. - For the “Secret key”, choose one of the options below:
Secret key (recommended)
Secret key (recommended)
This is the simplest option and provides full access to the Stripe API for your integration.
Assuming a secret key does not already exist, you can create one by following these steps:
- Click on “Create secret key”
- Select “Building your own integration”
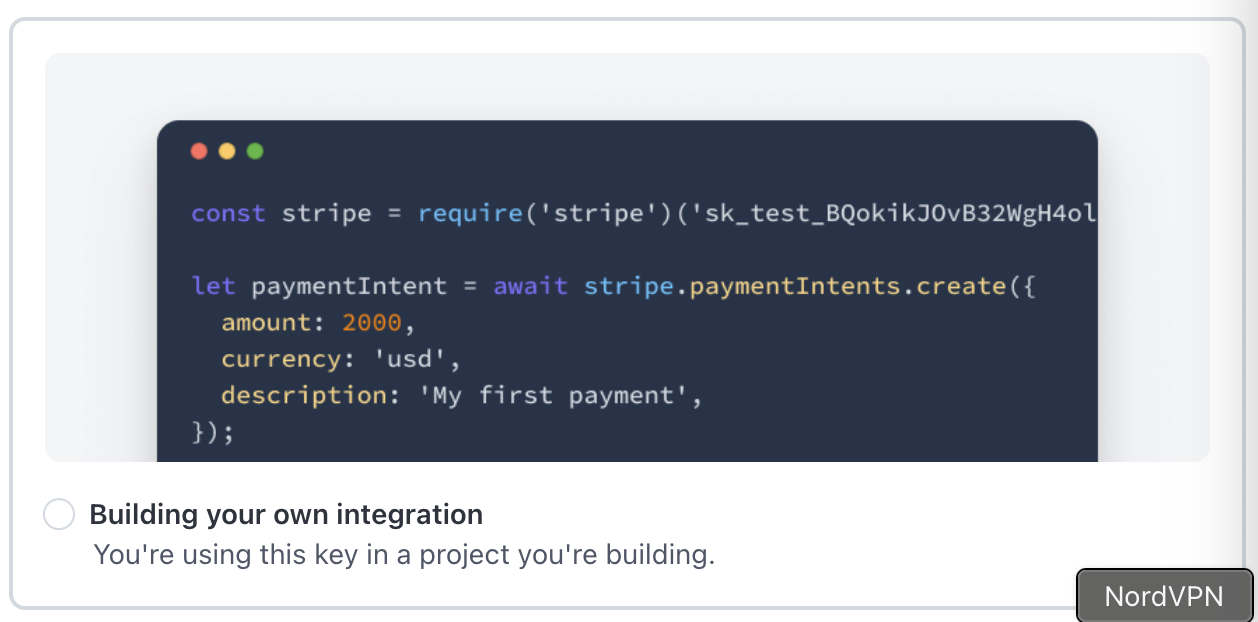
- Copy the generated secret key. It should start with
sk_live_for live mode orsk_test_for test mode.
Restricted key (advanced)
Restricted key (advanced)
If you want to manage fine-grained permissions, you can create a “Restricted key” instead:
- Click on “Create restricted key”
- Select “Providing this key to another website”

- Enter a name for this key and
https://mottostreaming.comas the URL - Tick the box “Customise permissions for this key”
- Leave the default permissions, and adjust by adding
writepermissions on the following APIs (if not already done):- Checkout Sessions
- Invoices
- Subscriptions
- Webhook Endpoints
- Prices
- Payment Intents
- Payment Methods
- Charges
- Customers
- Click “Create key” and copy the generated restricted key. It should start with
rk_live_for live mode orrk_test_for test mode. - Copy the generated restricted key.
Configuring Stripe in Motto
To configure Stripe in the Motto Studio, navigate to OTT -> Integrations -> Stripe.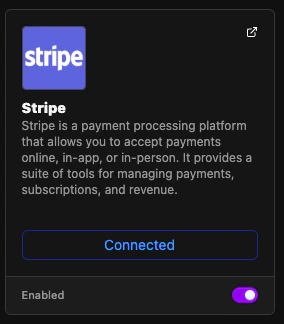

Caveats
It is good to keep the following in mind, as you integrate Stripe with Motto.Test payments
If you want to test payments on your OTT platform without using a real creditcard, and you’ve provided the Stripe test credentials as described above, you must also change your user account to a “Tester” role. Do this by navigating to Users -> Search for your user -> Edit user.After you change the role of a user account, the change will only apply once you sign out and back in again on the OTT platform.